The Unified Editor is a utility screen that is used for some important cataloging functions: adding and editing volume and copy records, and creating and managing copy templates. It’s a multitasking screen and as such it’s both flexible and cluttered.
You can see the whole unified editor here: [Screenshot]
Here are the four different components of the Unified Editor:
Record Summary
Basic information from the MARC record
Templates
Dropdown of template to select for inputting or editing records, plus links for template management: Delete, Import, Export, Save
Volume and Copy Creator
The section of the screen allows you to work with call numbers and barcodes.
The top line, with the gray background, is for batch processes, and is not likely to be useful for us except for template management: you can set the classification type, call number prefix and call number suffix here and save them to a copy template.
The bottom line is where you enter or edit call number or barcode information.
There are also some options here:
- Autogenerate Barcodes should normally be on so you can automatically fill in a series of multiple barcodes when you’re adding multiple copies
- Use Checkdigit should normally be checked when you are working with standard Codabar Barcodes
- Print Labels may be on or off, depending on whether or not you’re printing barcodes through Evergreen
The most important option on the screen is here: Re-barcode/Update Items is the SAVE button for adding or updating items.
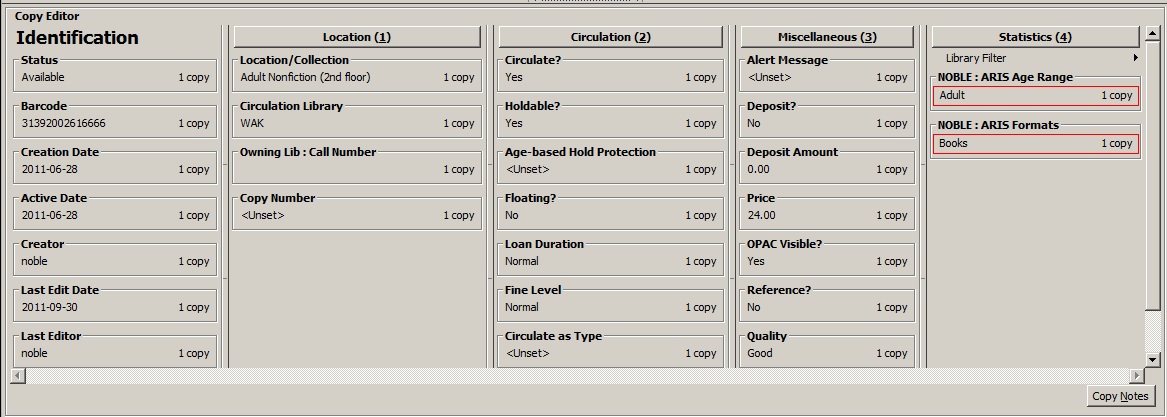
Copy Editor
This area of the screen is where you can enter or edit item attributes. (These are generally all coming from a copy template.)


